Adobe Connect has long been one of the best platforms for creating meaningful experiences. Companies around the world choose Adobe Connect for online meetings, virtual training, and webinars because it delivers experiences for their audiences that are more engaging than other platforms.
With a platform that provides the most robust functionality on the market, it also means there are certain things a user can set up as best practice to achieve a great user experience. Simply consider your content and room – a few small tweaks can optimize Adobe Connect for the best experience possible.
In this blog, we’re going to look at 4 areas where prepping your content and room correctly will optimize Adobe Connect and ensure a better user experience:
4 Quick Tips to Optimize Adobe Connect
These tips were developed by MeetingOne’s Technical Adobe Connect expert, Matt Drew.
Be sure to always use these recommended tips to fully optimize your Adobe Connect account. The outcome will be a greater experience for your audiences and other users.
.
Optimize Video Content
When optimizing video for Adobe Connect, it is important to understand that Connect will deliver (or attempt to deliver) exactly how the video is set up to stream. If you load a video that is too large or settings are for Blu-ray or Broadcast (which is the default for most video output and export settings), users will have a hard time streaming that video.
To best optimize a video, you need to approach it from the mindset that the video needs to be set up to play on the most common of connections on the internet.
Make sure to set your videos playback settings using these specs:
- Frame Size: 800px Width max
- Bit Rate: 500kbps to 1mbps; 800kbps is a good medium to start with.
- Audio-bit Rate: No more than 41kbps. Humans cannot notice a difference in audio with any setting over this.
Taking these steps will optimize Adobe Connect for a better video enjoyment experience.
.
Optimize Content Font
Being web based, Adobe Connect follows the standard rules of browsers. All browsers recognize a preset list of fonts. These are called “Universal Fonts.” Some browsers also support other fonts that others do not. These are called “Browser Specific Fonts.”
If you load a PowerPoint into Connect that uses a font not supported by the browser the viewer is in, the browser in use will change the font within their Connect view. This can cause issues to size, alignment, or cause text to go missing.
Of course, it would be terrible to displace text. The audience may miss out on valuable content.
To avoid these kind of changes to your presentation, stick to the most common Universal Fonts. Please note that the fonts listed are specific and not all variants of these fonts are supported universally.
Universal Fonts fonts will give you the best results are:
- Arial
- Arial Black
- Helvetica
- Times New Roman
- Times
- Courier New
- Verdana
- Georgia
PowerPoints are critical for online presentations. And if your slides are going bonkers, it’s going to affect the experience in a significant way. So use this helpful tip to make sure your fonts can be seen!
.
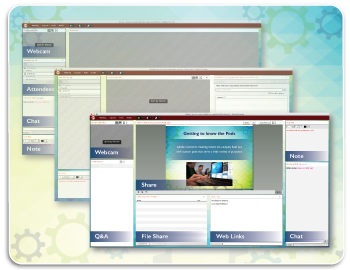
Optimize for Screen Sharing
As noted earlier, Adobe Connect is used for online events of all kinds. Online meetings and training. Webinars. Virtual panels and interviews. Often, the occasion arises where screen sharing becomes a must.
Adobe Connect allows you three options:
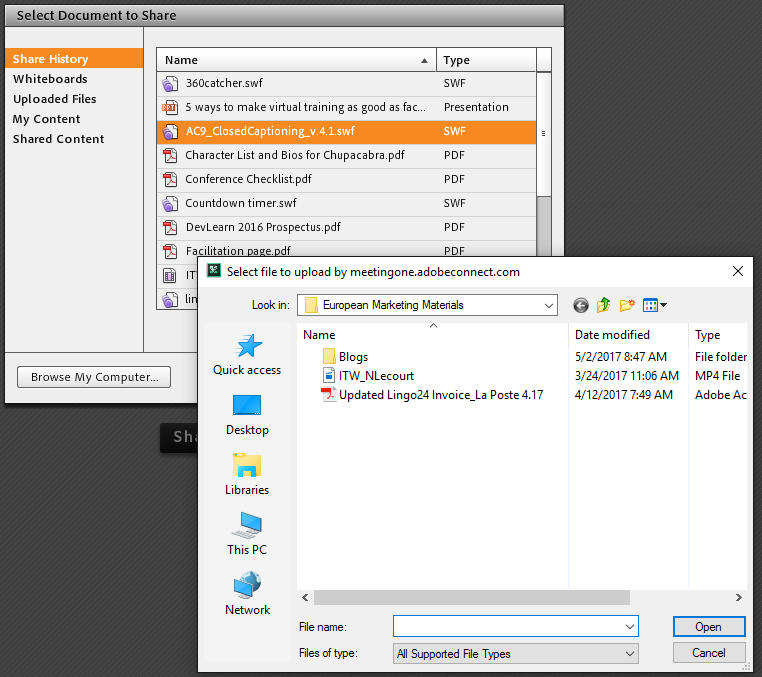
- Uploading files to the Share Pod.
- Screen sharing files from a desktop.
- Upload files to the Connect content Library.
In first two instances, you need to be aware of how large the file is you intend to share. Screen sharing from a desktop can become a large bandwidth suck. The more bandwidth required, the likelihood for latency increases. To understand file sizes better, check out the reference chart on GreenNet’s blog.
Uploading a file into your Adobe Connect virtual room is limited to ~100 Mb, based on Matt’s experience. Files any larger will not be uploaded successfully.
When possible, it is always better to upload content intended to be shared before the session. Unlike many platforms on the market, Adobe Connect offers a content library for certain use cases. The space offered is large enough to manage documents of any size – and it has unlimited storage to help store all the assets and documents you’ll ever need!
Once in the content library, the files can be pulled into your Adobe Connect room at any time. Taking this approach allows you to avoid the problem altogether. It’s a simple and efficient way to optimize Adobe Connect!
.
Optimize Adobe Connect Bandwidth
Bandwidth always comes into play during online events of any kind. Being aware of the bandwidth demands you are putting on audiences will affect the final product.
Everything in a virtual room consumes bandwidth. Webcam feeds. Screen sharing. Chats. File downloading and uploading. While most won’t overburden people’s connection capacity, it’s still wise to know some tricks for reducing bandwidth demands in Adobe Connect.
Adjustments to Reduce Bandwidth demand in Adobe Connect:
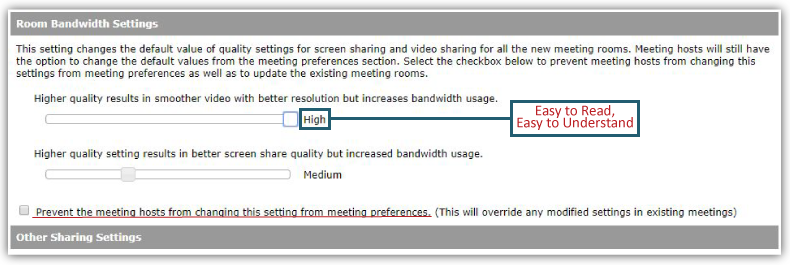
- Pause your webcam, use it intermittently, or use a picture instead.
- Reduce web cam and screen share quality in Adobe Connect Central or in room Preferences. Don’t drop the quality down too much, though.
- Integrate your room with telephony so users can simply call in by phone instead of using VoIP. (Learn more about integrating telephony here!)
Get all of our recommendations for conserving bandwidth from this blog.
Continue Striving for a Better Experience
The goal when you optimize Adobe Connect should be to improve the outcome of your online events. Making smart choices about video, fonts, file sizes, and bandwidth are critical steps for achieving a better outcome.
Tips provided by Matt Drew, MeetingOne Technical Account Manager.